I wanted to make myself some tiny matchbook-size notebooks, but all the tutorials I found left a pesky staple on the outside, which I feared would catch on my purse or jeans pockets. So after a bit of tinkering, I’ve come up with this tutorial that keeps the staple hidden on the inside. These little guys are easy to make, and, as I found one afternoon, a ribbon-wrapped set of them makes a quick handmade gift.
You’ll need:
• Lightweight cardstock for the cover
• Regular-weight paper for the pages
• 1 paperclip
• An X-Acto knife
• A ruler
• A stapler
• Glue
• Decorative paper for cover (optional)
Step 1: Cut the cover and pages
From your cardstock, cut a piece 6 1/2″ long and 2 1/4″ tall. This will be the cover.
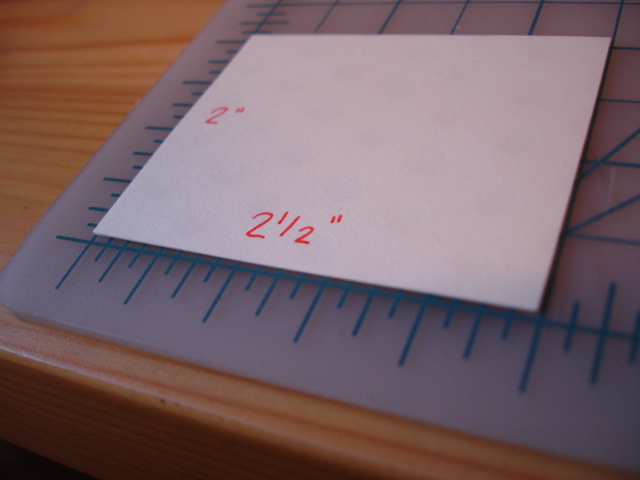
From your “page” paper, cut 10-15 pages 2 1/2″ long and 2″ tall.
Step 2: Score and fold the cover
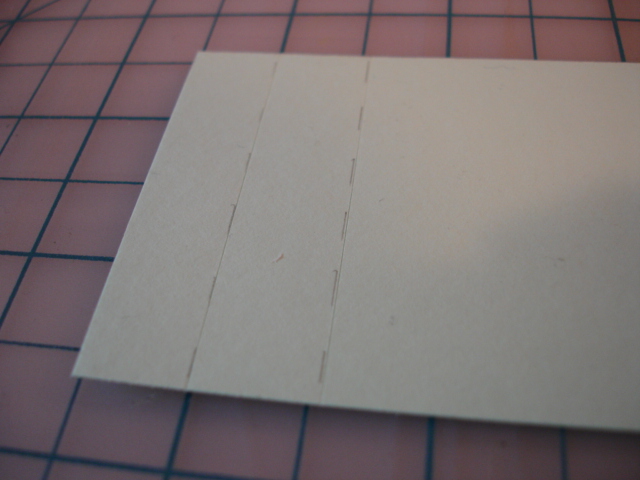
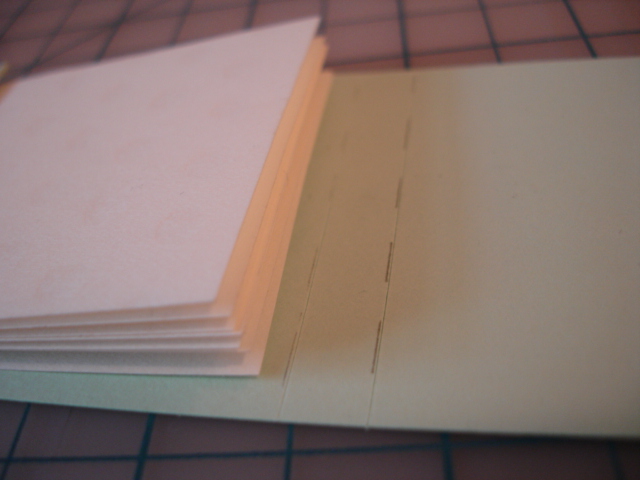
On one short end of the cover, use your X-Acto knife to lightly score (DO NOT cut all the way through!) two lines: the first line should be about 1/2″ from the end, and the second just over 1″ from the end. (You do not need to mark the lines before you score; I’ve just done it so you can see what’s going on.)
With scored side up and starting with the score closest to the end, fold over on each score line.
Step 3: Attach the pages

VERY IMPORTANT: Unfold the cover and flip it over before you proceed. The scored side should be facing down now.
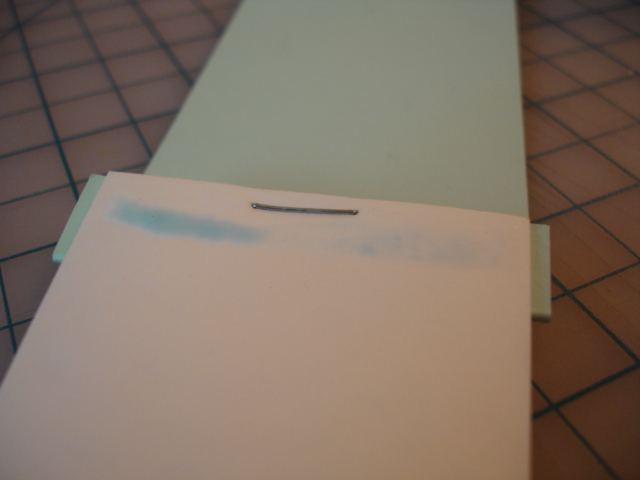
Line up the pages so that the 2″ end is flush with the end of the cover and centered. Paperclip the pages together so they stay aligned. Then staple the pages to the cover as shown above, with the smooth side of the staple on top of the pages.
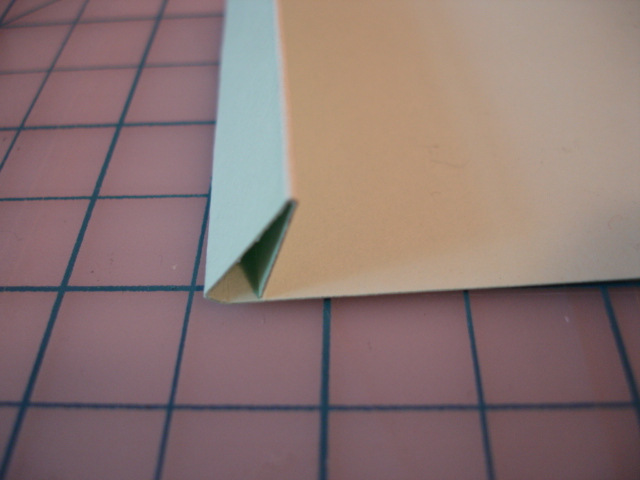
Flip the cover back over and re-fold the first crease (the one closest to the edge) so that the staple shows. Apply a small bit of glue along the very bottom of the edge of the pages, then re-fold the second crease and press it down so that the pages adhere to the cover.
Step 4: More cover scoring and folding
Almost done! Now you need to give the notebook its matchbook shape. Use your X-Acto to make two more score lines 1/4″ apart, just above where the pages touch the cover. (Again, you don’t need to mark with pencil first.)
Fold inward at both scorelines, and you should be able to tuck the bottom of the cover in at the bottom. Done . . . unless . . .
Step 5 (optional): Decorate the cover
I had some old origami paper laying around and decided to put it to use to make the cover a bit more vibrant. To copy, just cut a piece of paper the size of your front cover and glue it atop the cardstock. I also pressed the glued part only between a couple of books until it dried, just to keep things flat.




I love this tutorial. People always ask me how I hand-make my notebooks, and I always explain that it’s really not that hard. The pictures are helpful and you did a good job of showing how easy it really is. Now I’ll have something to show them the next time they ask
I’m glad you like it! And you’re right: little books like this really are so easy with the right approach. Thanks for stopping by!
Fabulously beautiful, Lauren! And very well-explained. It’s as if you’re a writer or something.
[…] I found a lovely blog called one crafty writer that has a great tutorial for a simple matchbook style notebook. You can check out the tutorial here. […]
Hi! Thanks so much for this tutorial. I gave it a go and put some photos of my finished result on my blog with a link to your tutorial. You can check it out here if you’re interested:
http://www.angelaosborn.com.au/diy-notebook-pocket/
[…] found this tutorial online and adapted it to suit my hybrid project. I created a cover using the dimensions in the tutorial […]
Lovely. . .and clever! I’ve done matchbooks a number of times, but the hidden staple takes these to the next level. Thanks for a clear tutorial and a great gifting idea. We like to run the bottom of our filler pages through the sewing machine (unthreaded) to perforate the pages before stapling them in, too.
This hidden staple is great, and this is easier than setting up the sewing machine. Thanks for the simple instructions.
[…] followed the tutorial over at One Crafty Writer that allows you to hide the staple. I just varied the measurements that I used to make it easier […]